![](/wp-content/uploads/2023/12/connecta-mobile-logo-dark.png)
Install the Priva|C App from the Google Play Store
![](/wp-content/uploads/2023/12/en_badge_web_generic.png)
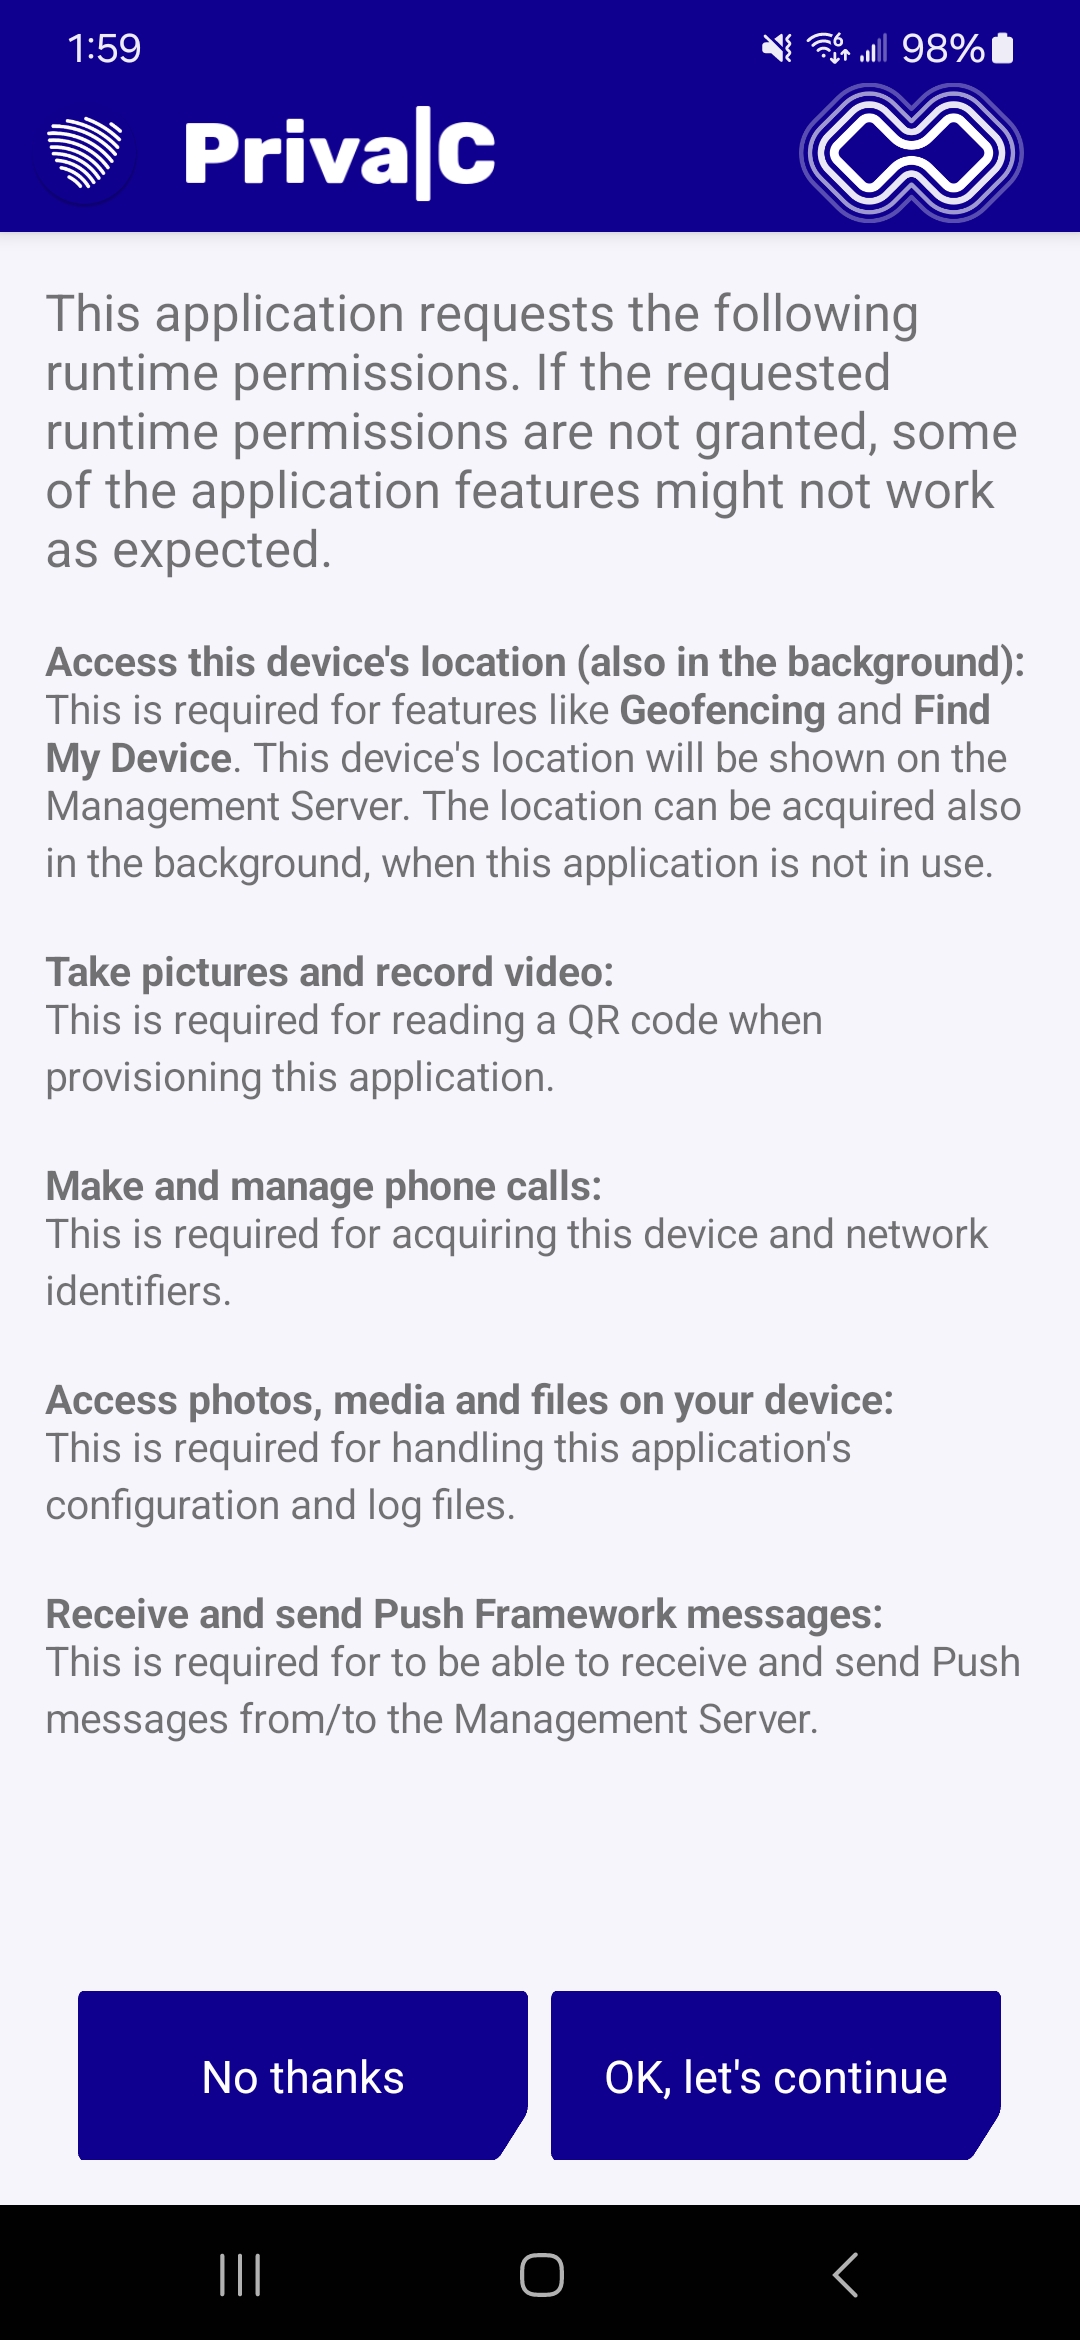
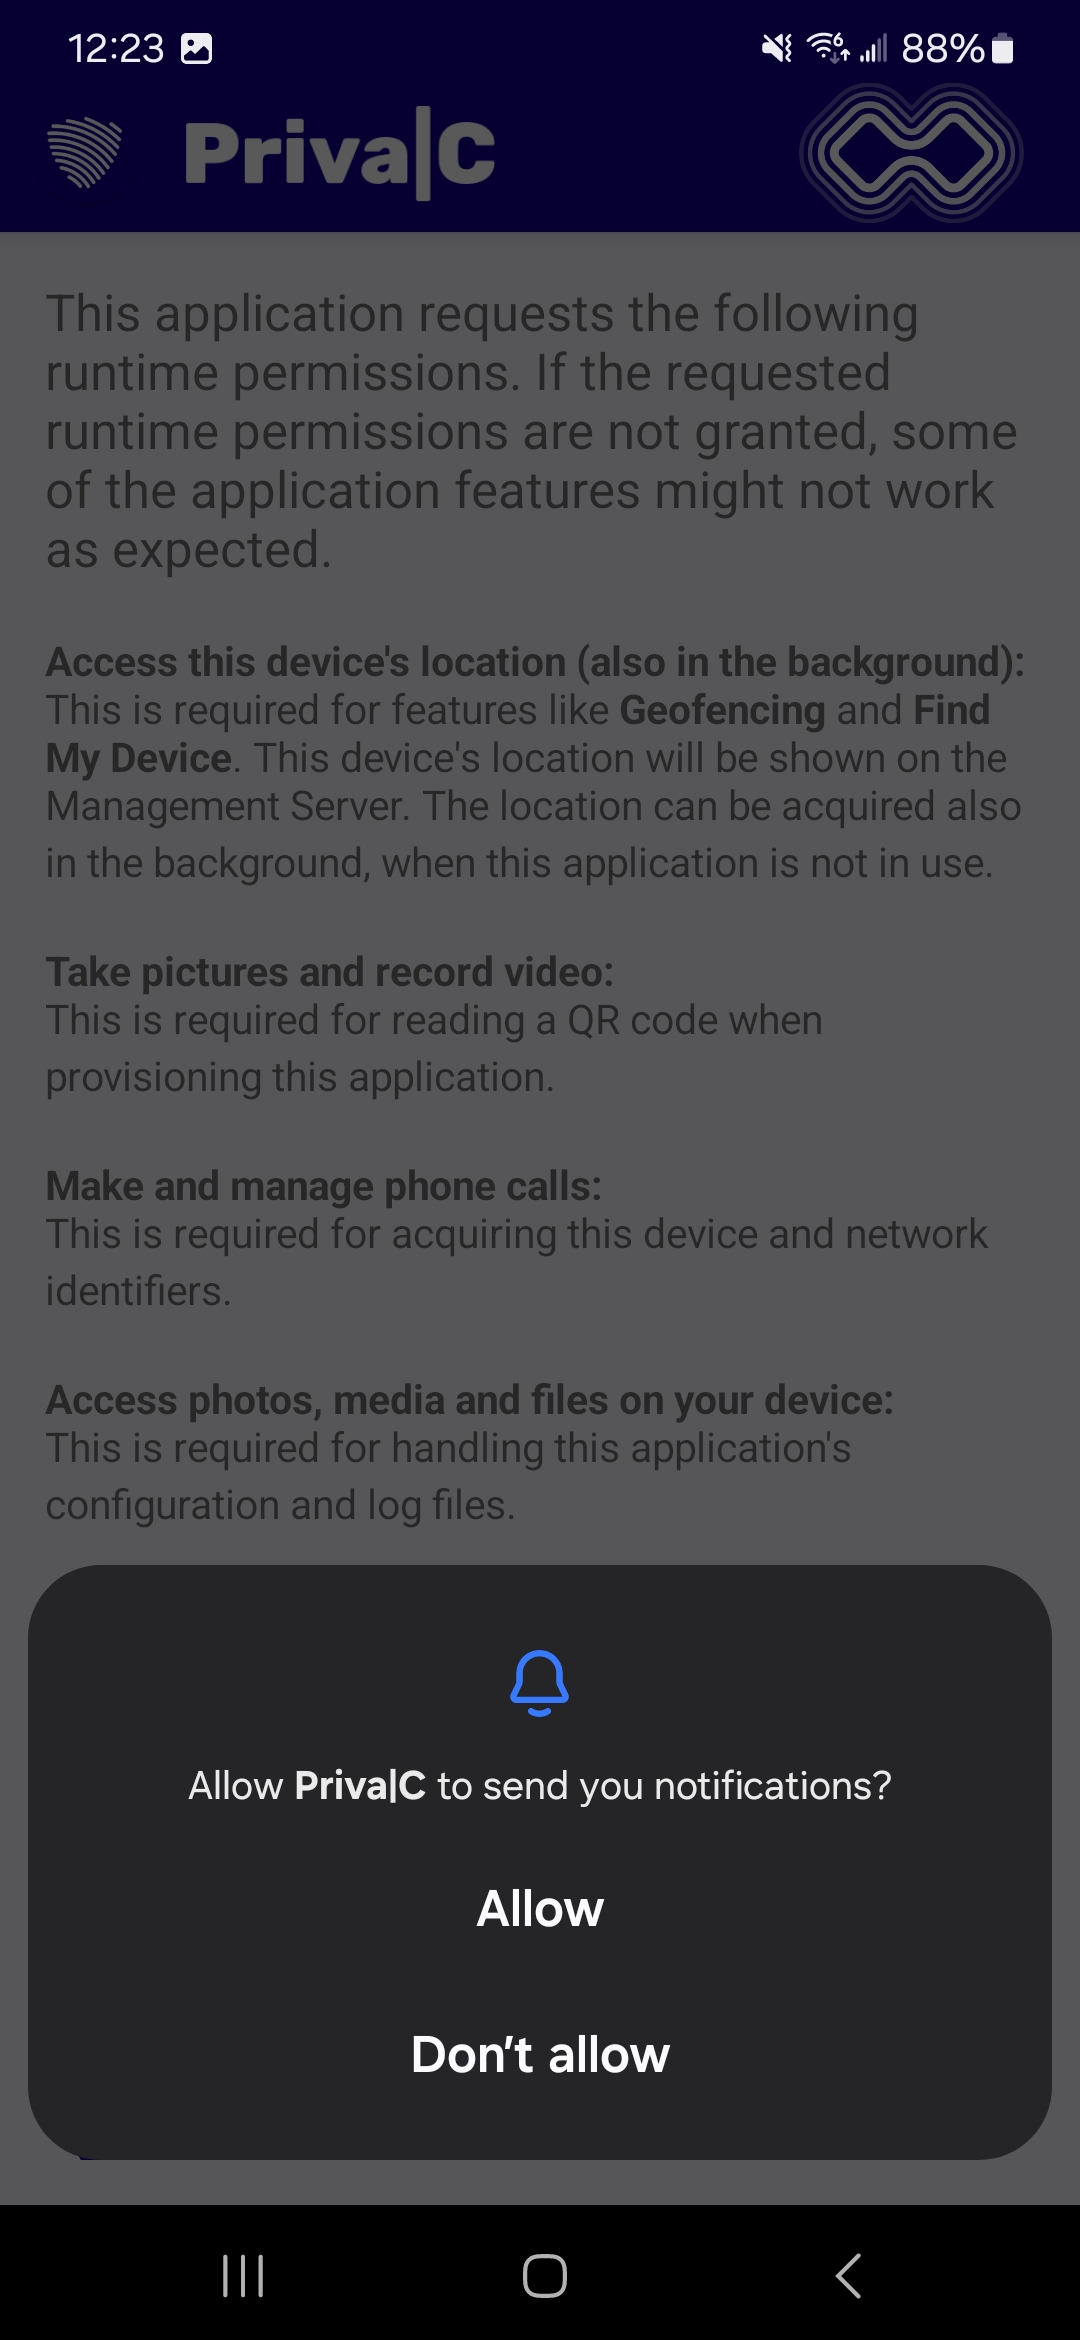
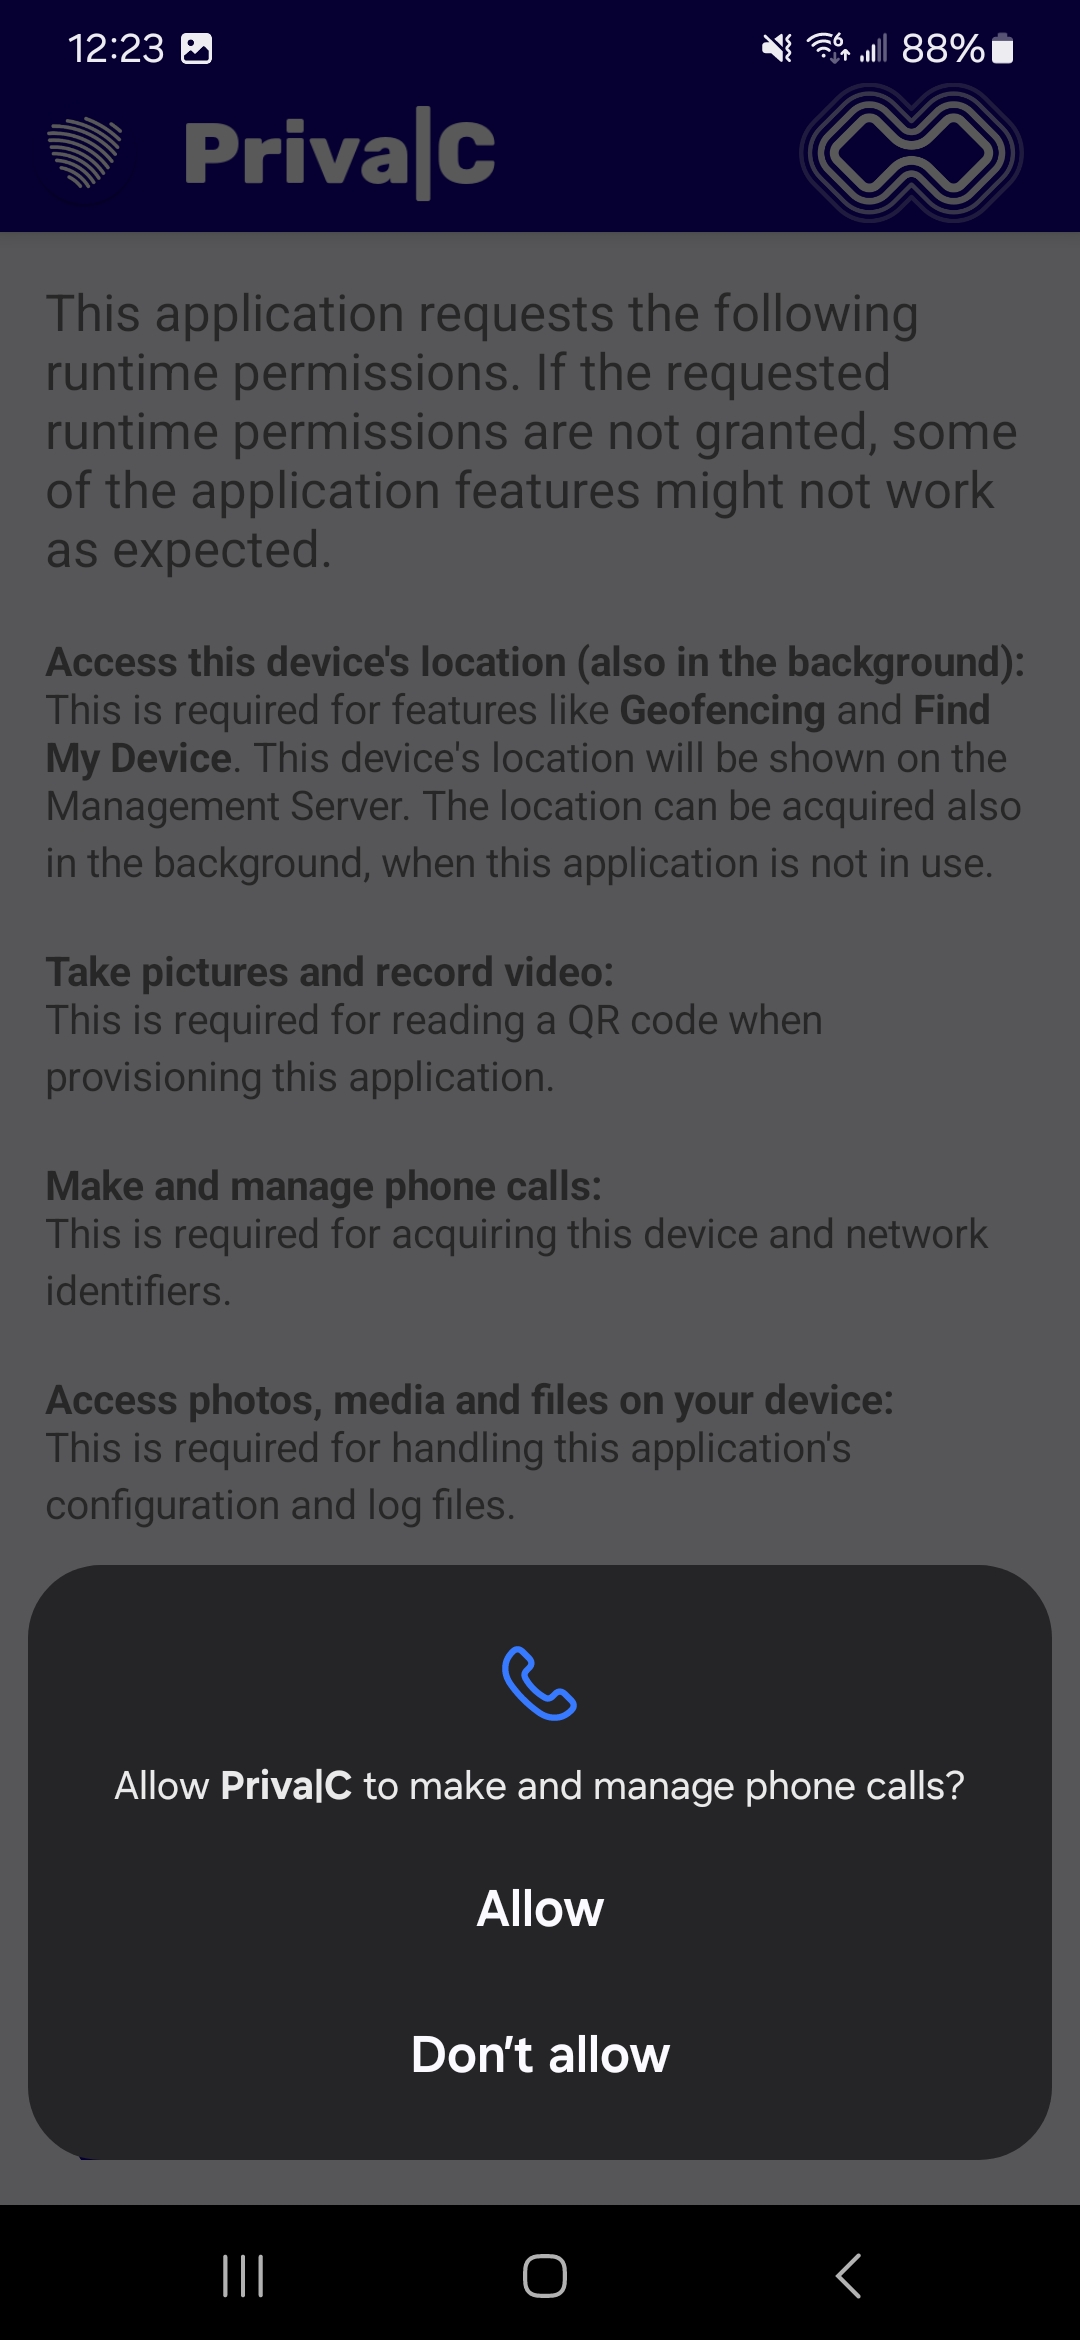
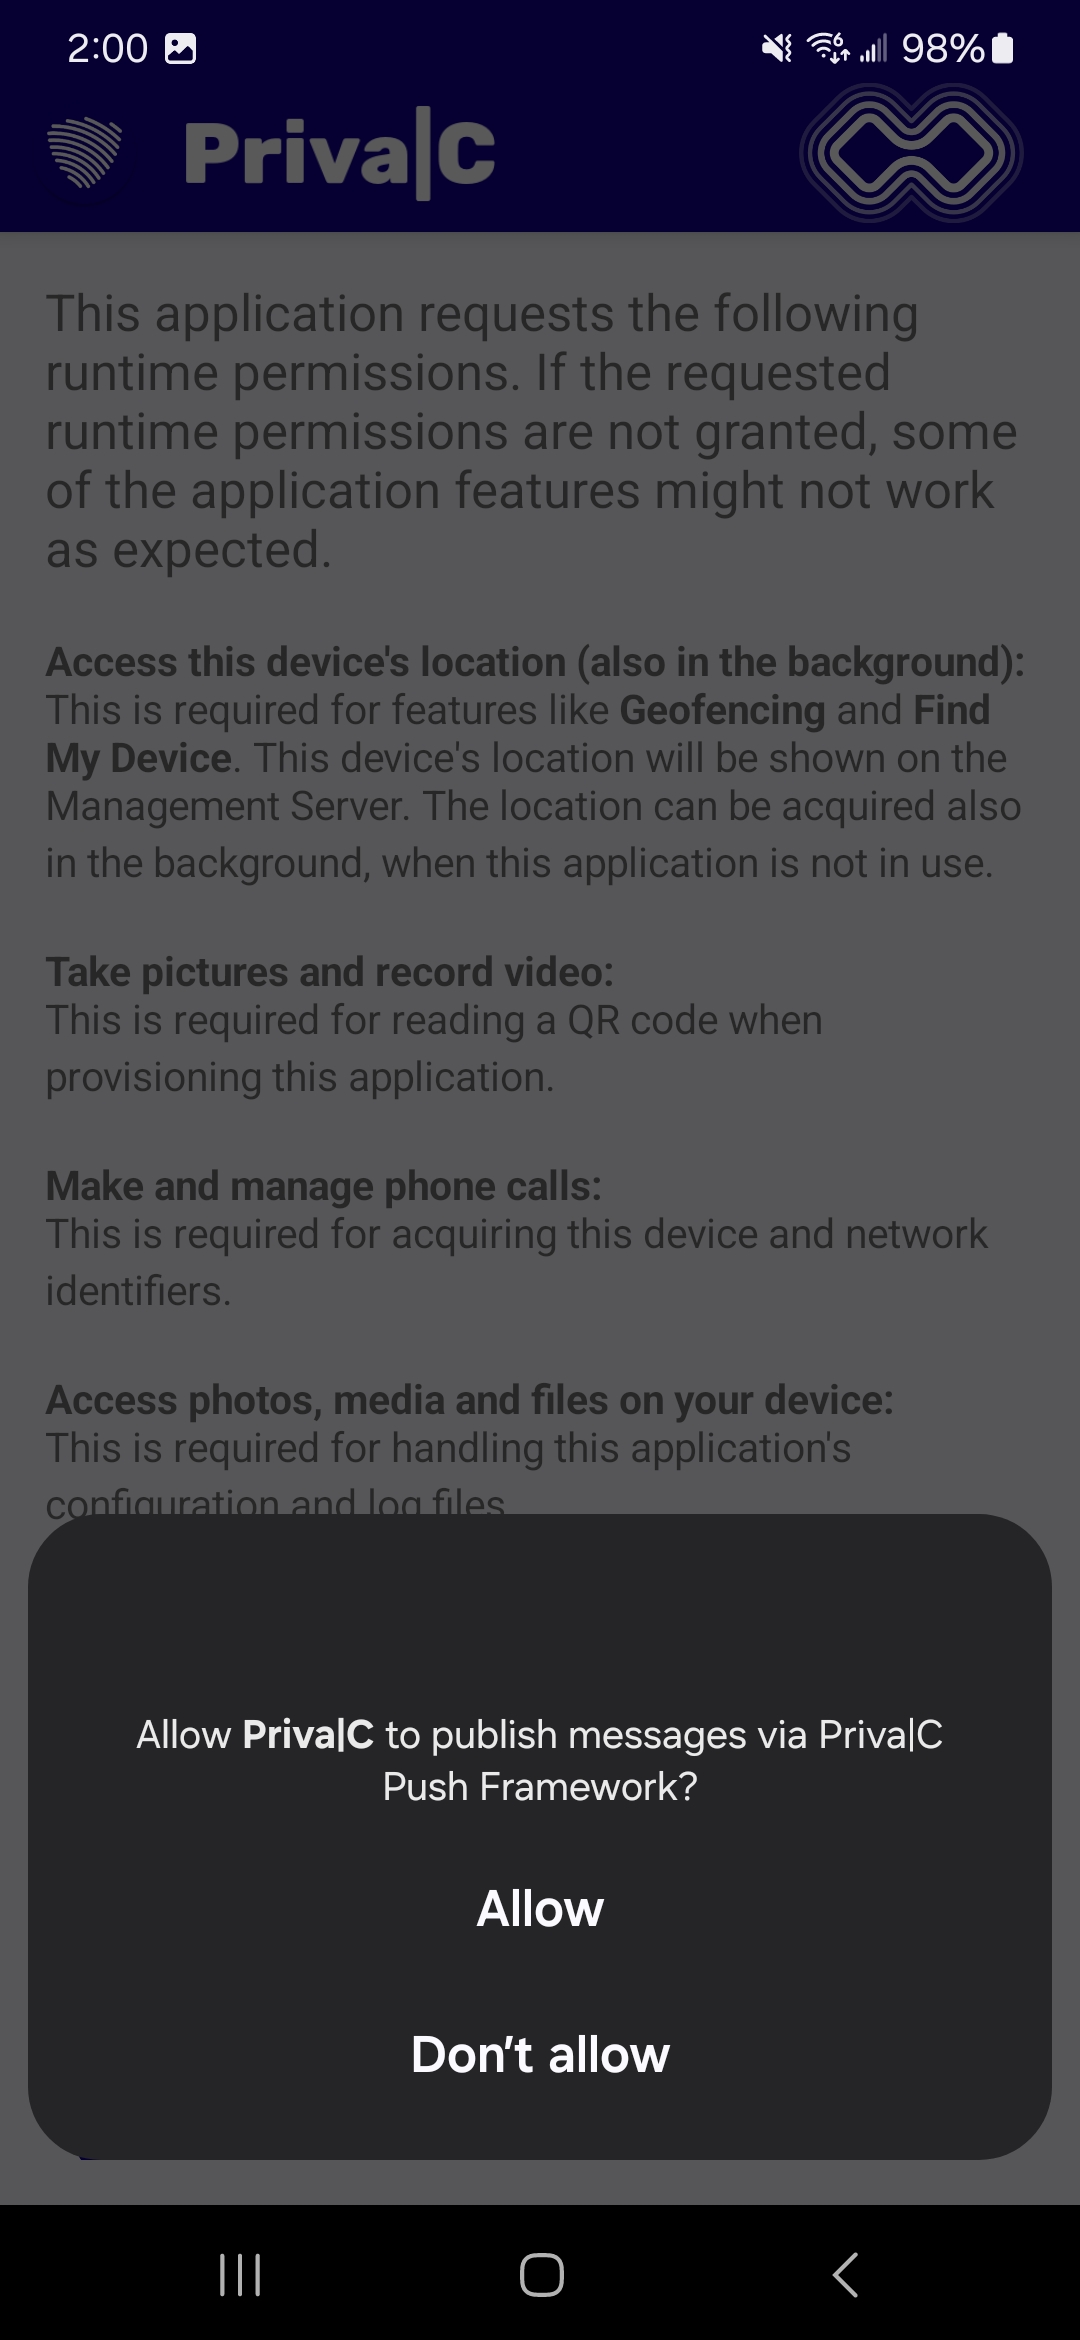
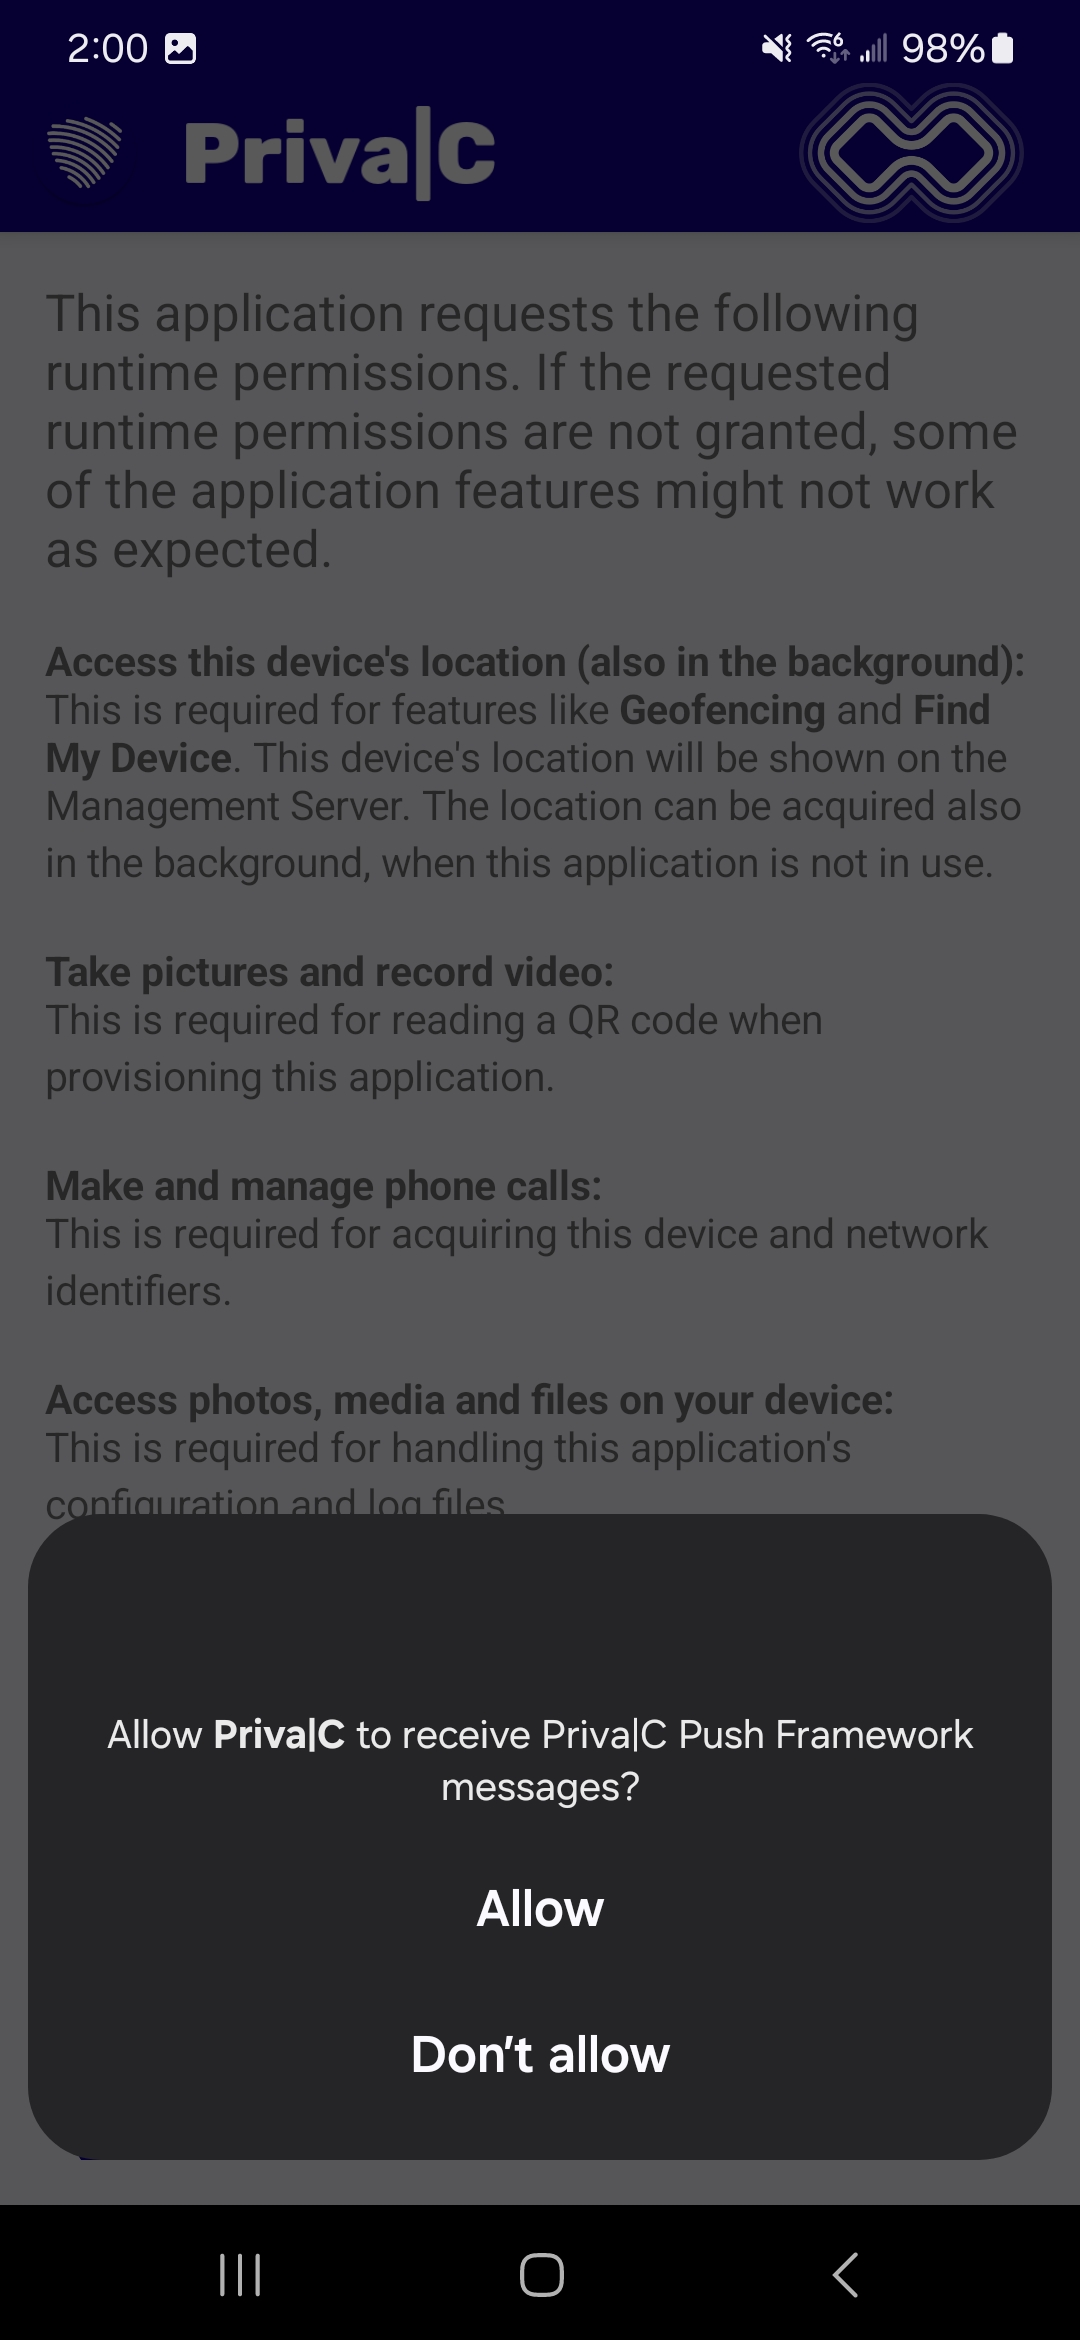
Allow All Access Requests
![](/wp-content/uploads/2023/12/Screenshot_20231128_135933_PrivaC-1.jpg)
![](/wp-content/uploads/2023/12/Screenshot_20231128_135945_Permission-controller.jpg)
![](/wp-content/uploads/2023/12/Screenshot_20231201_122311_Permission-controller.jpg)
![](/wp-content/uploads/2023/12/Screenshot_20231201_122342_Permission-controller.jpg)
![](/wp-content/uploads/2023/12/Screenshot_20231201_122358_Permission-controller.jpg)
![](/wp-content/uploads/2023/12/Screenshot_20231128_140035_Permission-controller.jpg)
![](/wp-content/uploads/2023/12/Screenshot_20231128_140047_Permission-controller.jpg)
![](/wp-content/uploads/2023/12/Screenshot_20231128_140055_Permission-controller.jpg)
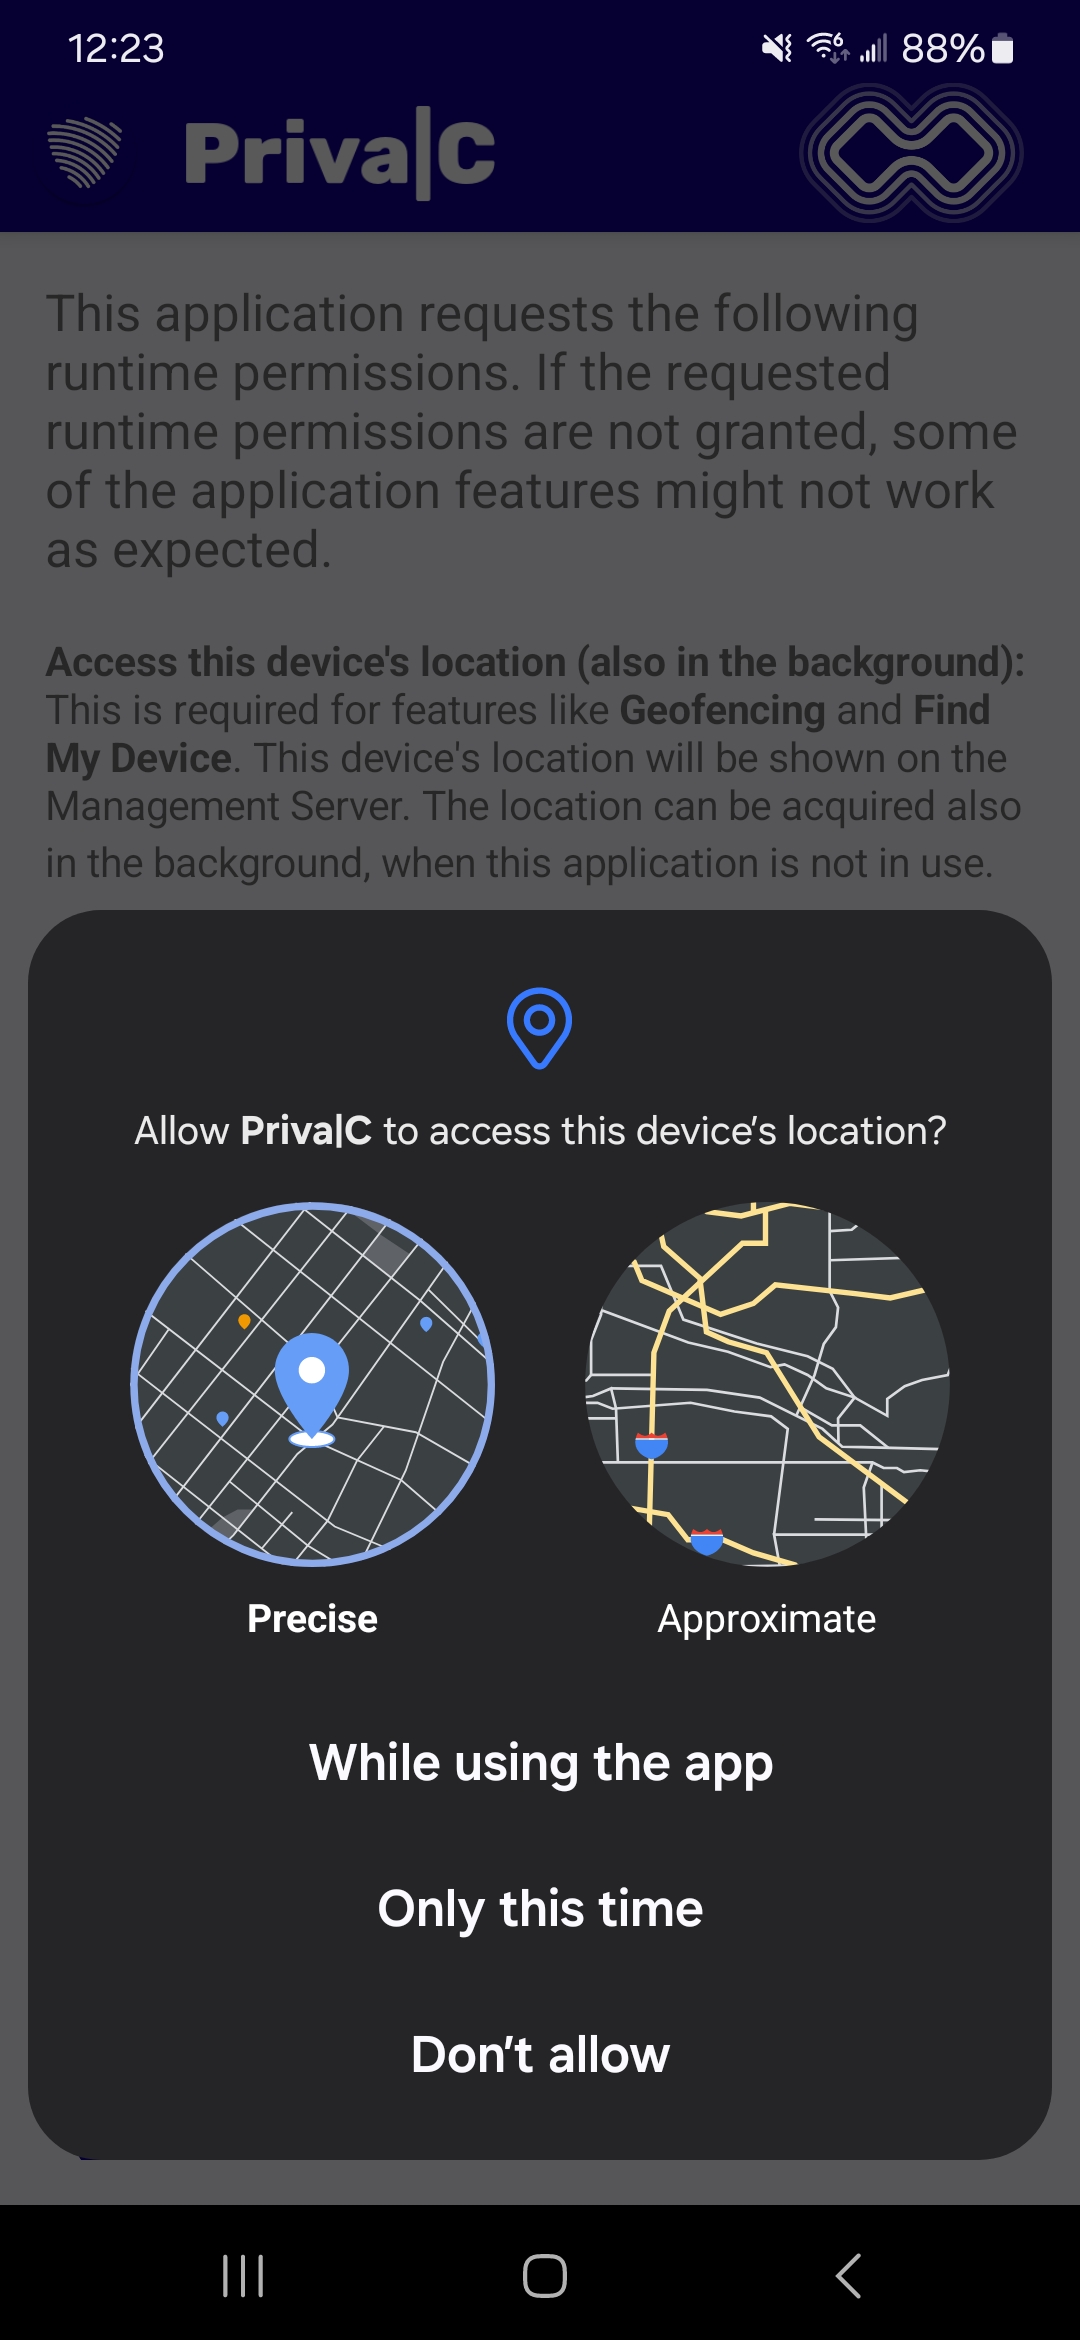
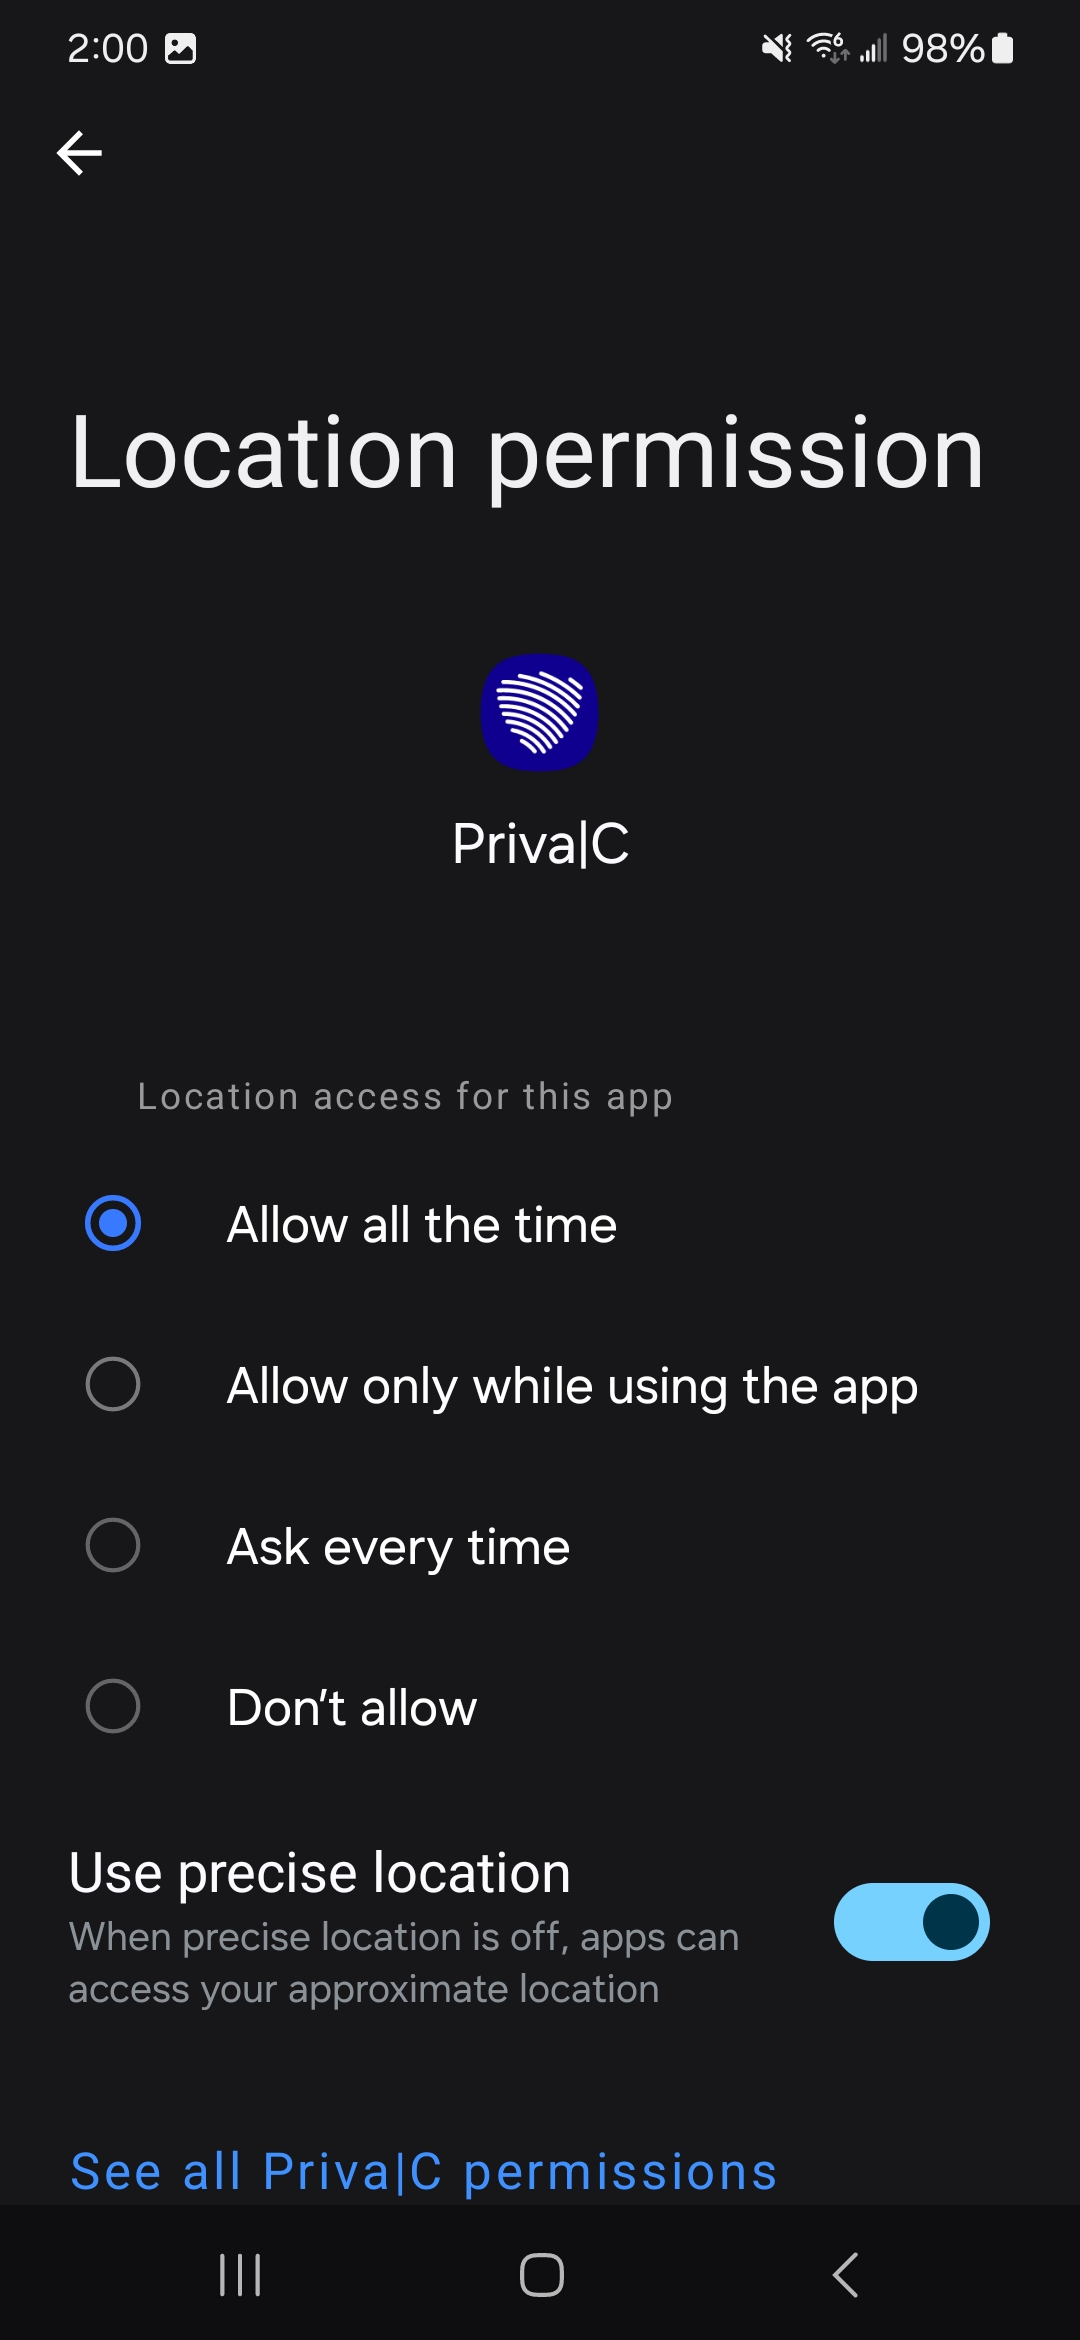
When you reach Location permission, select “Allow all the time” then click the arrow at the top left.
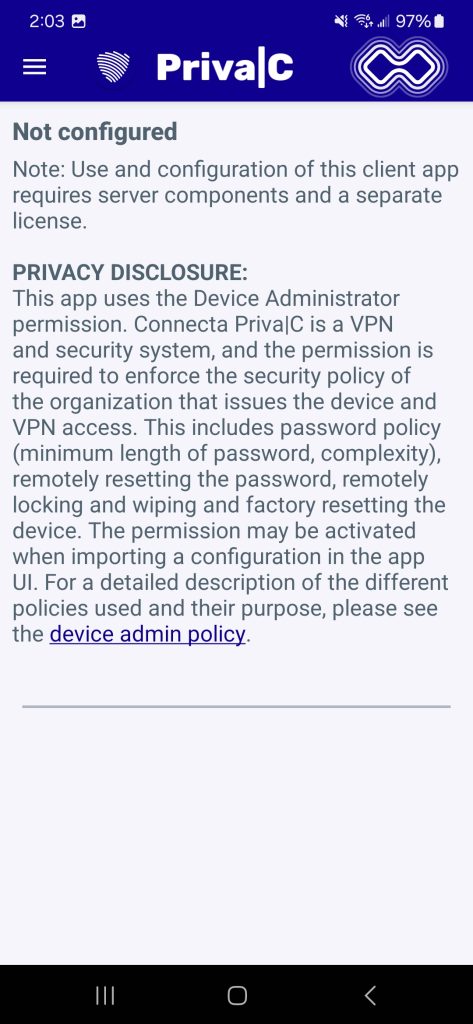
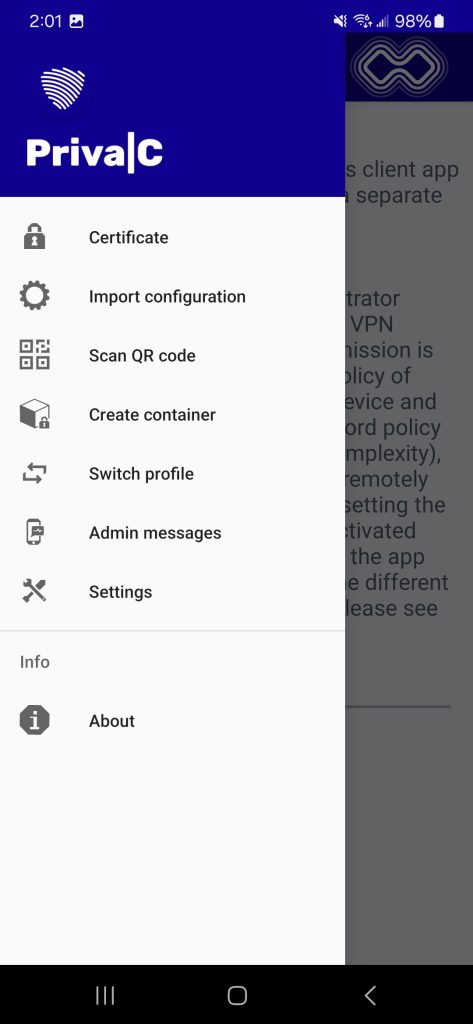
Once the Priva|C permissions are accepted you will see a screen showing not configured. Click the menu (3 bars) at the top left. Click “Create container”
![](/wp-content/uploads/2023/12/Screenshot_20231128_140349_PrivaC-1-473x1024.jpg)
![](/wp-content/uploads/2023/12/Screenshot_20231128_140118_PrivaC-473x1024.jpg)
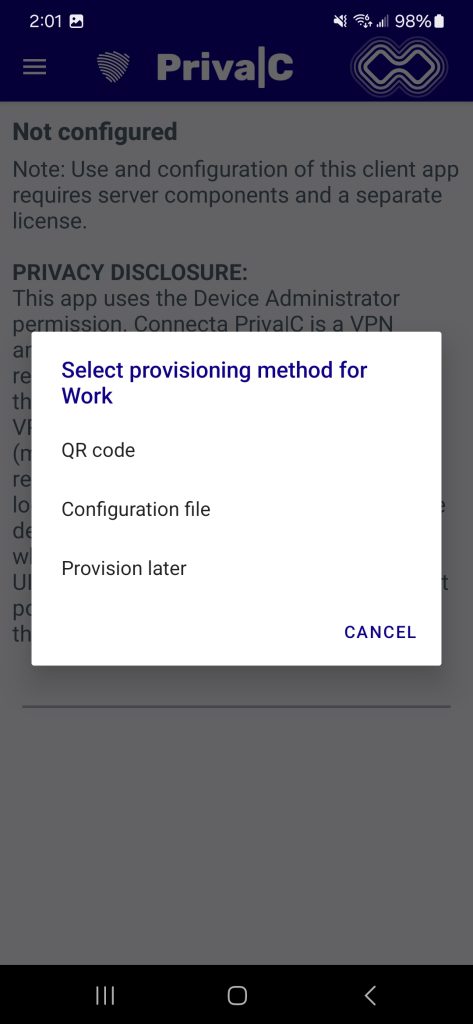
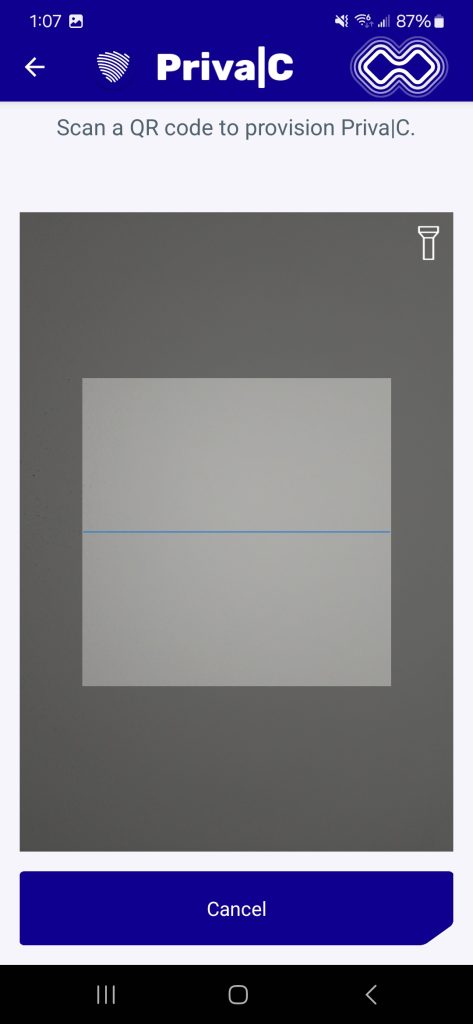
Select “QR code” for the provisioning method for Work. Scan the QR code provided in your email from Connecta Mobile.
![](/wp-content/uploads/2023/12/Screenshot_20231128_140127_PrivaC-1-473x1024.jpg)
![](/wp-content/uploads/2023/12/Screenshot_20231201_130709_PrivaC-473x1024.jpg)
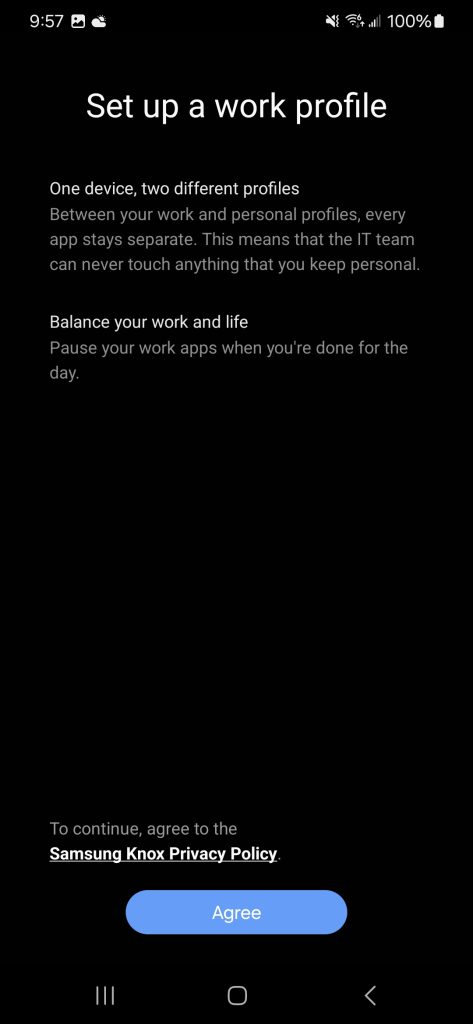
Click Agree to set up the Work profile. When complete click Next.
![](/wp-content/uploads/2023/12/Screenshot_20231128_095710_Work-Setup-473x1024.jpg)